
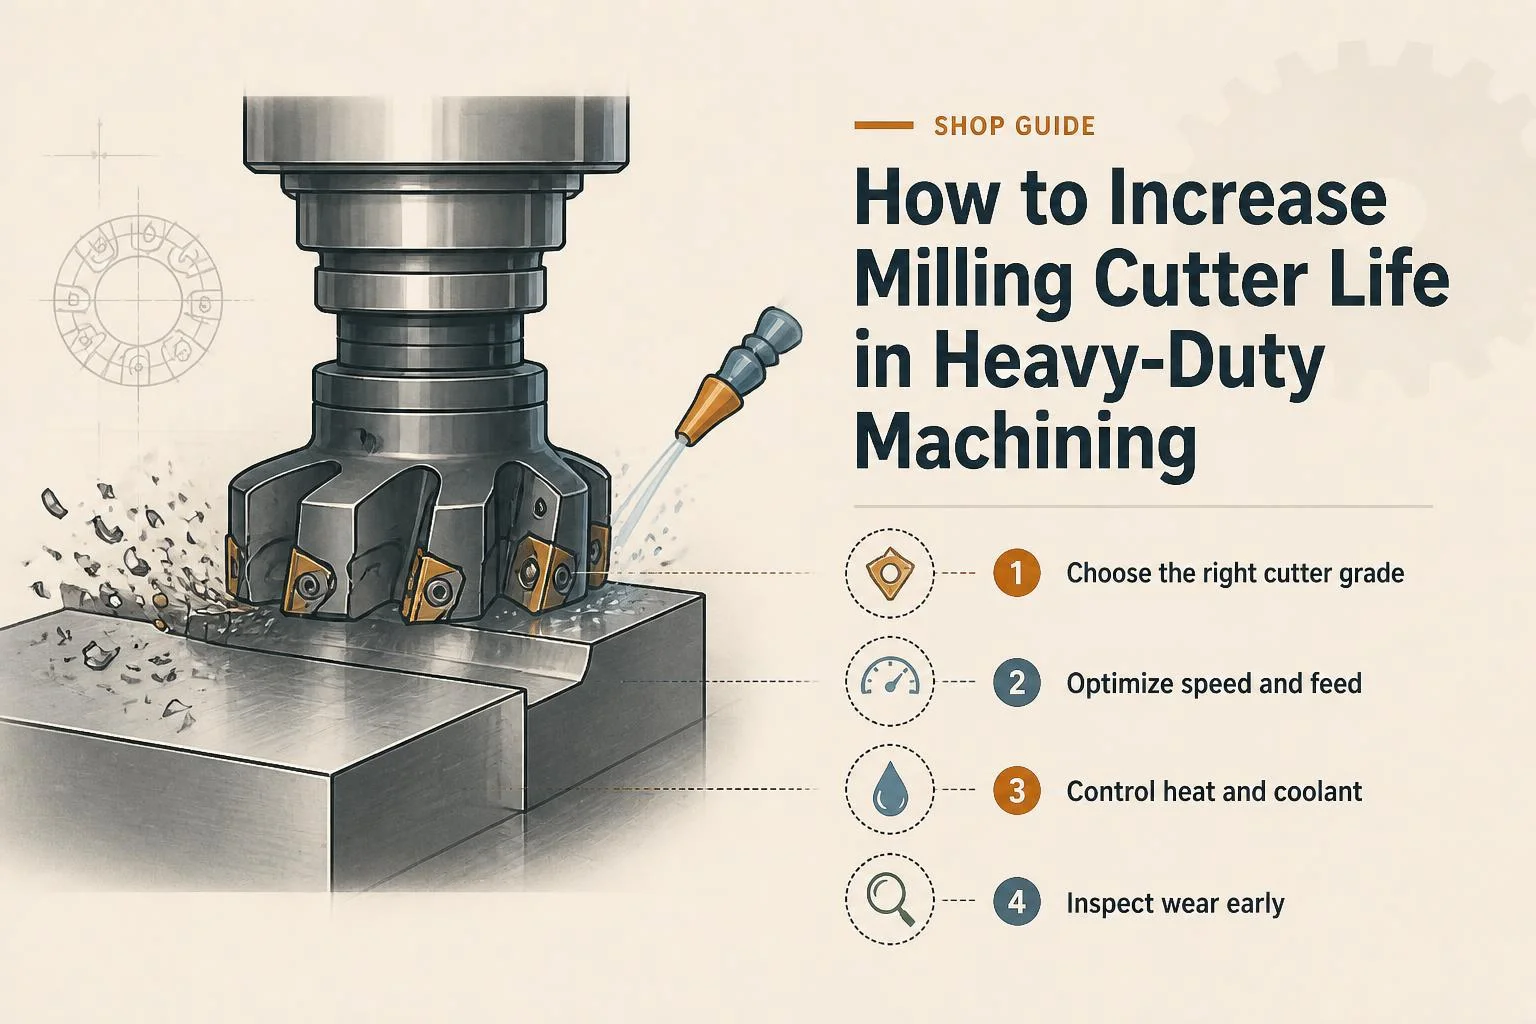
Heavy-duty CNC milling puts high loads, heat, and cutting forces on your tools. A poor setup can lead to edge wear, chipping, vibration, and early tool failure. To increase milling cutter life, you need to consider the entire machining process, not just the cutter. The right tool, stable workholding, correct cutting data, proper maintenance, suitable coating, careful sharpening, and effective cooling all play a role. In 2026, the global CNC machine market is projected to reach USD 108.58 billion, according to Fortune Business Insights.
In this article, we will discuss how to increase milling cutter life, including tool maintenance, coating selection, sharpening, cooling, and cutting practices for heavy-duty CNC machining.
What Causes Milling Cutters to Wear Faster?
A milling cutter wears when heat, friction, cutting pressure, or vibration becomes too high. The type of wear can also tell you what needs to change.
Common problems include:
- Flank wear: The cutting edge becomes thinner from repeated contact.
- Crater wear: Heat and chips wear a hollow area on the rake face.
- Edge chipping: Small pieces break from the cutting edge.
- Built-up edge: Workpiece material sticks to the cutter.
- Thermal cracks: Repeated heating and cooling can create cracks.
- Notch wear: A groove forms at a specific point on the cutting edge.
Seco Tools notes that incorrect speeds and feeds, poor chip removal, unsuitable tool geometry, and hard workpiece materials can increase tool wear.
For a CNC operator, this means tool life should not be judged by the cutter alone. Machine rigidity, workholding, cutting data, coolant flow, and chip removal all affect the result.
How to Increase Milling Cutter Life With the Right Cutter
Start with the cutter itself. The tool must match the workpiece and the operation.
For heavy material removal, you may use milling cutters for heavy duty machining with a suitable tooth design and material grade. HSS cutters can offer good toughness, while carbide can support higher cutting speeds when the machine and setup are rigid.
Maxwell Tools lists HSS grades such as M2, M35, and ASP 2030 for different industrial milling applications. Its product range includes side-and-face cutters, roughing end mills, shell end mills, and other metalworking cutters.
Before loading a cutter, check:
- Workpiece material
- Cutter material
- Cutter diameter
- Number of teeth
- Flute or tooth geometry
- Cutting depth
- Machine rigidity
- Recommended cutting speed and feed
Do not select a cutter only because it has a higher hardness rating. A very hard tool can still fail quickly when the setup has vibration or poor support.
Use the Correct Cutting Speed and Feed
Wrong cutting data is one of the fastest ways to shorten tool life. A cutting speed that is too high can generate excessive heat. A feed that is too low can cause the edge to rub rather than cut properly. A feed that is too high can overload the edge, causing chipping.
Use the tool maker’s recommended starting data. Then adjust it based on the material, cutter diameter, depth of cut, radial engagement, machine power, and setup.
Watch the cutter during the first few passes. Excessive noise, vibration, smoke, poor finish, or rapid edge wear are signs that the cutting conditions need attention. Seco Tools recommends checking the balance between cutting speed and feed when addressing several common wear patterns.
Read more: Top Milling Cutter Manufacturers & HSS Suppliers 2026
Maintain the Cutter and Machine Before Each Job
Good maintenance can prevent avoidable cutter damage. Before machining, check the holder, spindle, arbor, workholding, and cutter. Remove dirt and chips from contact surfaces. Make sure the cutter is seated correctly.
Also check runout. A cutter that runs off-center can put more load on one tooth than the others. This creates uneven wear.
Keep the tool overhang as short as practical. A long setup can increase deflection and vibration. Seco recommends keeping tool length short and using a rigid setup when dealing with edge chipping. A simple maintenance check should cover:
| Check | What to inspect | Why it matters |
| Tool holder | Dirt, damage, grip | Prevents runout |
| Cutter | Chips, cracks, worn edges | Prevents sudden failure |
| Spindle | Runout and condition | Keeps cutting balanced |
| Workholding | Clamping and rigidity | Reduces vibration |
| Coolant | Flow, concentration, cleanliness | Controls heat and friction |
| Machine | Loose parts or poor alignment | Supports stable cutting |
Choose the Right Coating for Heavy Milling
A coating can protect the cutting surface from heat, friction, and wear. But the coating must match the job.
Seco Tools explains that coatings can act as a thermal barrier, increase surface hardness, improve chip flow, and reduce abrasive wear. Its guidance lists TiN, TiCN, and TiAlN for different applications. For example, TiAlN offers greater thermal stability than TiN and is useful in applications where cutting temperatures are high. The correct coating depends on the cutter material, workpiece, cutting speed, and coolant method.
Do not assume that the most advanced coating is always the best choice. Use the coating recommended for your tool and material combination. Kennametal also uses coating technology on milling tools to enhance wear resistance and extend tool life, showing that coating selection is closely tied to tool grade and application.
Use the Correct Milling Cutter Sharpening Process
Sharpening can restore a suitable cutting edge on cutters designed for regrinding. But poor grinding can change the cutter’s geometry and cause new problems.
The milling cutter sharpening process should be handled by a trained operator or a qualified tool-grinding service. The original tooth form, rake angle, relief angle, diameter, and tooth spacing must be maintained as required for the cutter.
Do not remove excessive material during grinding. Excessive grinding can reduce the cutter diameter or alter the cutting geometry.
A basic milling cutter sharpening process includes:
- Clean and inspect the cutter.
- Check each tooth for wear or damage.
- Set the correct grinding wheel and machine.
- Grind the required surface evenly.
- Keep tooth geometry consistent.
- Remove grinding residue.
- Check dimensions and cutting edges.
- Inspect the cutter before returning it to service.
For HSS tools, repeated sharpening can be practical. Carbide tools need different grinding methods and greater care because carbide is hard but brittle.
Maxwell Tools notes that the need to regrind cylindrical cutters depends on how often they are used and the material being cut.
Read more: How to Sharpen a Gear Hob for Accurate Involute Profiles
Control Heat With Proper Cooling
Heat is a major cause of tool wear during heavy milling. Cooling also helps reduce friction and move chips away from the cutting zone.
Use enough coolant to reach the cutting area. Check the concentration according to the fluid manufacturer’s instructions. Keep the coolant clean and maintain the sump.
Kennametal states that cutting fluids reduce heat and provide lubrication. It also warns that reducing coolant concentration below the recommended level can reduce tool life.
For carbide milling at high speed, water-based coolant can provide strong heat removal. The correct coolant still depends on the tool, workpiece, speed, and machining method.
Avoid random changes to coolant flow. In milling, interrupted cutting already creates repeated heating and cooling. Seco notes that intermittent coolant can contribute to thermal cracking in some conditions.
Improve Chip Evacuation
Re-cutting chips can damage the cutting edge. This is a common issue in deep slots, pockets, and high material removal operations.
Use the correct flute count and geometry for the job. Make sure coolant or air can move chips away from the cutting zone.
Some modern milling cutters use internal coolant channels to improve chip removal in deep cavities. Kennametal, for example, lists internal coolant supply as a feature on certain high-performance milling tools.
For milling cutters for heavy duty machining, chip evacuation becomes even more important because the cutter removes a large amount of material in a short time.
Follow These Steps to Increase Milling Cutter Life
Use this routine before and during heavy-duty CNC work:
Step 1: Inspect the Tool
Check for cracks, chipped teeth, built-up material, and uneven wear.
Step 2: Check the Setup
Keep tool overhang short. Check workholding, holder condition, and runout.
Step 3: Set Cutting Data
Use the cutter manufacturer’s recommended speed, feed, and depth of cut as your starting point.
Step 4: Check Coolant
Confirm correct concentration, flow, and delivery to the cutting zone.
Step 5: Watch the First Pass
Listen for chatter. Check chips, surface finish, heat, and edge condition.
Step 6: Track Tool Wear
Record cutting time, parts completed, and visible wear. Replace or sharpen the cutter before severe damage occurs.
Step 7: Review the Cause of Failure
Do not simply replace a failed cutter. Check whether the problem came from speed, feed, vibration, coolant, chip evacuation, tool selection, or workholding.
How to Know When a Milling Cutter Needs Sharpening or Replacement
A cutter does not need to be discarded at the first sign of wear. But sharpening is not suitable for every damaged tool.
Consider sharpening when the cutting edges are worn, but the cutter body and geometry remain suitable for regrinding.
Replace the cutter when you find:
- Large chips on the cutting edge
- Cracks
- Severe deformation
- Major diameter loss
- Damaged tooth geometry
- Excessive wear that cannot be removed safely
The milling cutter sharpening process should restore the intended geometry. It should not simply make the edge look sharp.
A Practical Tool-Life Checklist for CNC Operators
A short checklist can prevent many avoidable failures:
- Check the cutter before installation.
- Clean the holder and spindle contact surfaces.
- Minimize tool overhang.
- Confirm workpiece clamping.
- Check runout.
- Use suitable cutting data.
- Keep coolant at the correct concentration.
- Keep chips away from the cutting zone.
- Watch for chatter and unusual noise.
- Record tool wear and cutting time.
- Sharpen suitable HSS cutters before severe damage.
- Replace cutters with cracks or major edge damage.
These habits are simple, but they make tool wear easier to control.
Conclusion
Learning how to increase milling cutter life is mainly about controlling the conditions around the tool. Use the right cutter, stable setup, suitable cutting data, correct coating, clean coolant, and proper chip removal. Sharpen reusable cutters with the correct method and inspect them before putting them back into service.
Maxwell Tools manufactures HSS milling cutters in grades and designs suited to various industrial operations, including side-and-face and heavy-material-removal applications.
For CNC operators, the goal is simple: prevent avoidable wear, catch problems early, and use each cutter safely for as long as its geometry allows.
FAQs
1. What is the main cause of short milling cutter life?
Excessive heat, incorrect cutting speed or feed, vibration, poor chip evacuation, and unsuitable tool selection are common causes. The correct cause should be identified from the wear pattern before changing the cutter.
2. Can sharpening extend the life of a milling cutter?
Yes. Suitable HSS cutters can often be reground when their cutting edges are worn, but their body and geometry remain usable. The grinding must restore the required tooth shape and relief.
3. Does coolant increase milling cutter life?
Proper coolant can reduce heat and friction and help remove chips. However, too little coolant, incorrect concentration, or poor delivery can reduce tool life. Follow the coolant maker’s recommendations.
4. Are coatings useful for heavy-duty milling?
Yes. The right coating can improve resistance to heat, abrasion, and edge wear. The best coating depends on the cutter material, workpiece, cutting conditions, and machining method.